
How to Install WordPress on your Windows Computer Using XAMPP
Table of contents
- Introduction
- Download and Install XAMPP
- Download Latest Version of WordPress
- Create Database
- Install WordPress on Localhost
Introduction:
WordPress is a free CMS platform that is used to create websites without having a huge coding knowledge. If you are a newcomer to WordPress, it is the best choice to develop a website on your local server because there is no risk of damage to your website. You can try anything or you can experiment with your website. Basically, the local server provides you a test environment for the developers.
Download and Install XAMPP:
XAMPP is the local server and it will be used here to run your WordPress. XAMPP is a cross-platform that means it works in all operating systems. It is very easy to download and install XAMPP.
Go to the official website of xampp and select the operating system and next click on download.
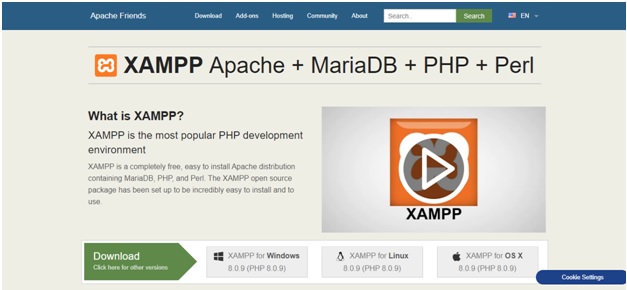
After completing the download you need to install it on your computer. Just double click on the .exe file and then installing process will be started.
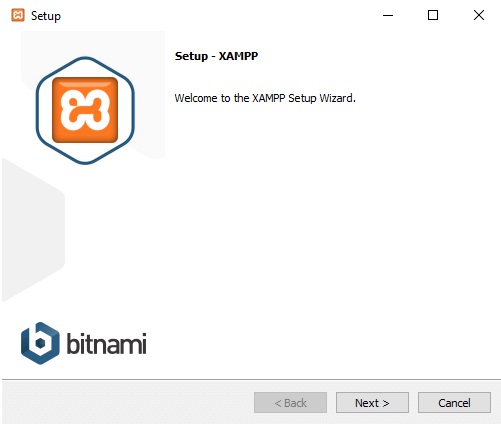
After clicking on next, you will get the dialog box for choosing the options you need.
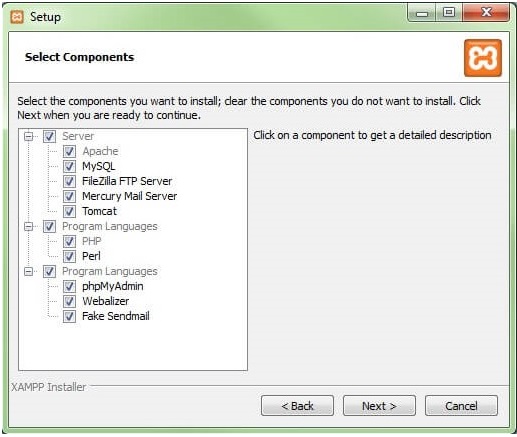
After selecting the options click on next then the installing process will be started.
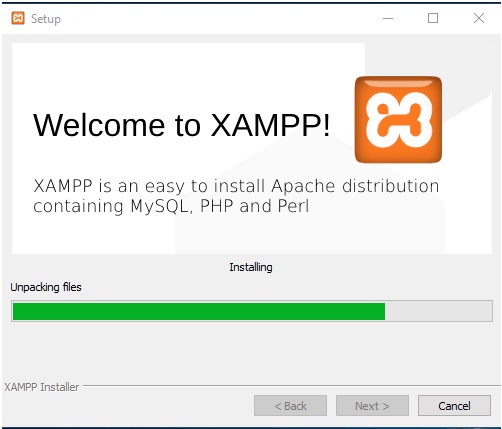
If you have any antivirus installed on your computer you will get a dialog for allowing apache access.
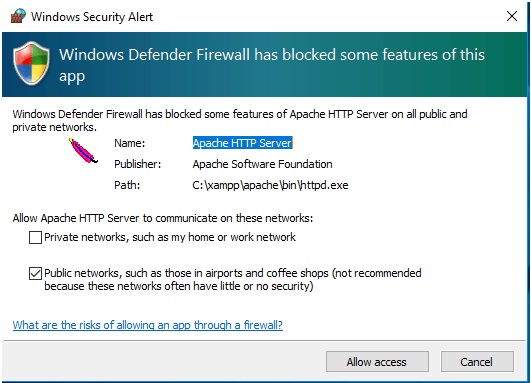
After successfully completing the installation process click on finish.
Download Latest Version of WordPress:
To download the latest version of the WordPress file just go to the official WordPress site and click on download WordPress.

After completing the download you will get a zip file and next you have to extract the zip file using WinRAR or 7zip software, these are free software available on the internet.
Now, you will need to place the WordPress unzip file in the local server. To do so create a folder of your project name under the htdocs(C:\xampp\htdocs).
Create Database:
WordPress website is fully dynamic means each part of your site can be changed easily that is why WordPress is connected with a database. so before installing WordPress on your computer you need to create a blank database.
To create a database you need to open the xampp control panel and start the first two Apache and MySQL.
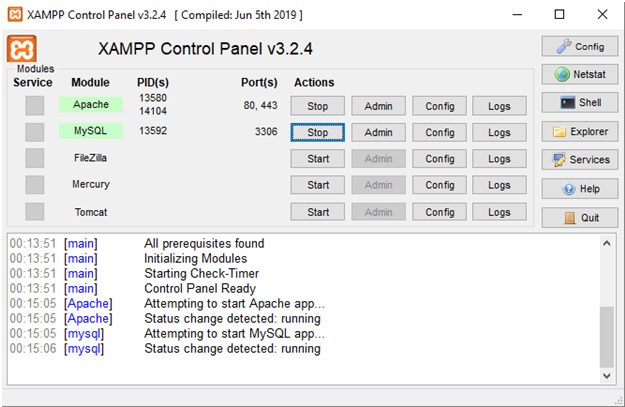
Now open a browser and write in a tab http://localhost/phpmyadmin/ next click on new and give database name and click on create, now your database is created.
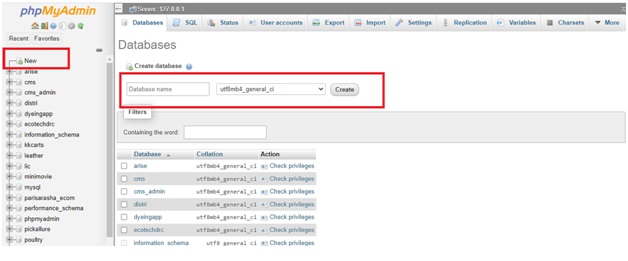
Install WordPress on Localhost:
It is very easy to install WordPress on your local server just you need to follow the instructions explained below. Open your XAMPP control panel and start Apache, Mysql. Next, go to any browser and write localhost / your project folder name(you have created under the htdocs folder->C:\xampp\htdocs) then select your language and continue.
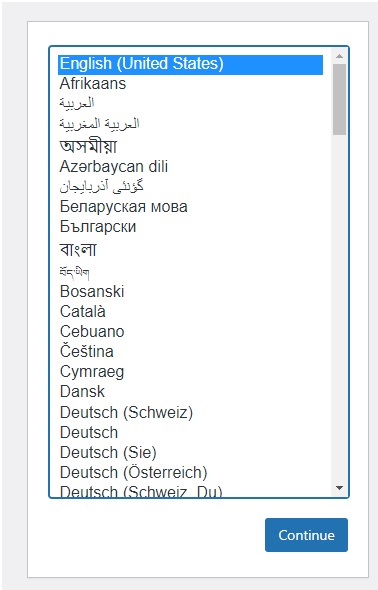
Then you will get a window where WordPress tells you to further process the next step here you simply click on let’s go!.
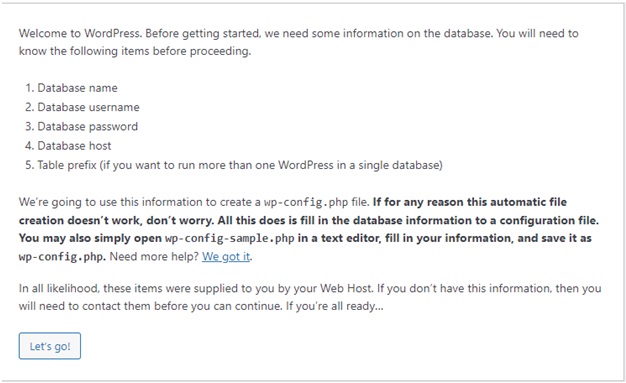
Next
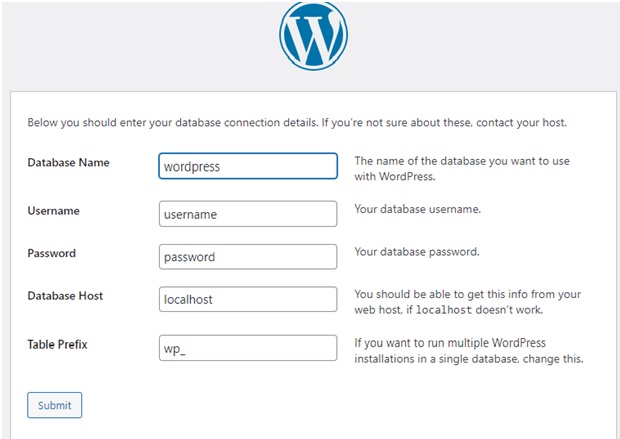
Now you are getting some fields that are crucial for installing your WordPress on the local server.
• Database Name: here you will give the database name you have created before.
• Username: Put the database username you have given at the time of creating a database, if you did not give any username it is by default set as root.
• Password: The password you have given at the create database time, if you did not give just leave it blank.
• Database Host: In your local server it is set as localhost.
• Table Prefix: If you want to run multiple WordPress in one database then you need to identify the database tables for which table for what WordPress. You can differentiate the tables by a prefix if you write ab_ or xy_ in the table prefix box then WordPress will create the necessary tables using the prefix like ab_users, ab_posts, etc.
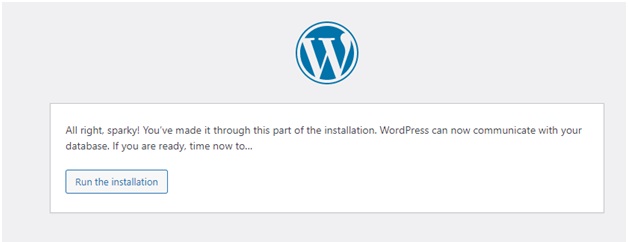
Just click on run installation. Here the WordPress will create the necessary tables.
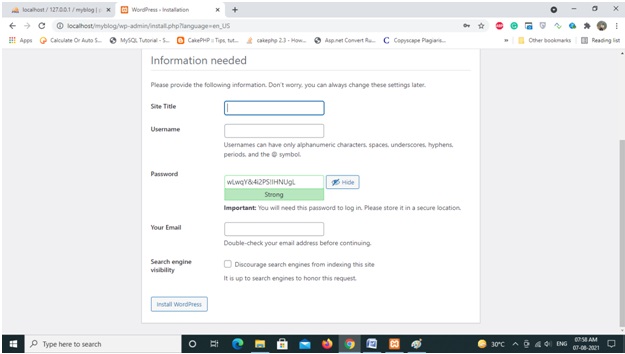
Now you have to provide the basic details of your site and here you will get the option of creating the credential of the admin panel.
Provide the site title but it can be changed from the dashboard, give the username, and set a password for your admin panel.
Next, you have to provide a valid email id, you will receive any update from WordPress in this email id. if you forget your admin dashboard password and you want to recover it, you will get a reset password link in this email id.
Search engine visibility check box remains to uncheck means you are unwilling to rank your site in google search engine.
Now you can install WordPress and finally, you will get a dialog window to login into the dashboard.
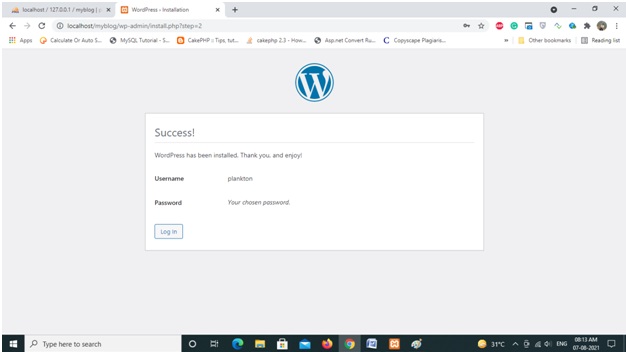
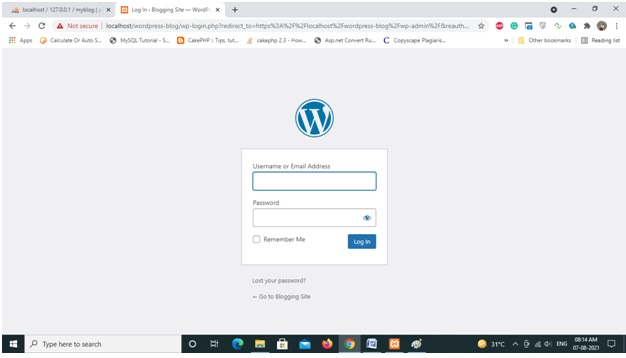
Now log into the dashboard by using the credentials you have created at the time of WordPress installation.
Now, your WordPress installation process is completed, and now need to install a theme with the necessary plugins to develop a website.
0 COMMENT
RECENT BLOGS

Understanding Schema Markup: Enhancing Your SEO Efforts
24th of July 2023
The Power and Versatility of Node.js: A Comprehensive Overview
11th of July 2023

Do Follow and No Follow Links & Their Usage
21st of July 2022

Top 10 Best Free Web Hosting Sites That You Can Use in 2022
25th of March 2022
Top 10 Website Performance Testing Tools to Use In 2022
25th of March 2022
RECENT COMMENTS
ARCHIVES
CATAGORIES
TAGS
NEWSLETTERS
New posts straight to your inbox
No spam ever. Read our Privacy PolicyThe advantage of partnering with us
We create and promote websites to grow your business. Feel free to contact us to promote your own website by partnering with us. We do website promotion of all bands at a very low cost. We share your company's values with readers through the online world. We would like to talk to you in detail about this.
Talk to Us
alexbeglov1989 On Top 10 Website Performance Testing Tools to Use In 2022